
To upgrade your home affordably, start by installing grab bars in bathrooms—these cost as little as $30 and are easy to add yourself. Build simple ramps using plywood, non-slip tape, or even portable options under $100, perfect for doorways or steps. Upgrade door handles to lever-style for easier use and clear clutter to prevent falls. Keep safety in mind and explore extra tips to make your home more accessible without spending a lot. Keep going to learn more helpful ideas.
Key Takeaways
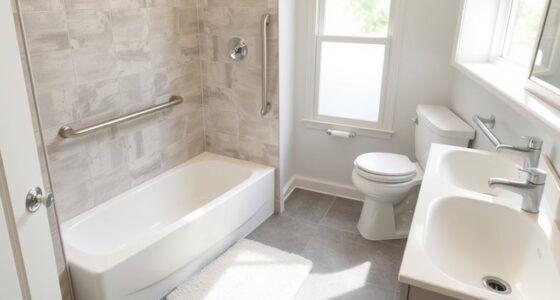
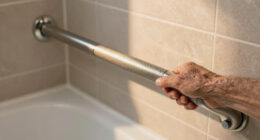
- Install affordable grab bars in bathrooms using $30–$100 models for increased safety.
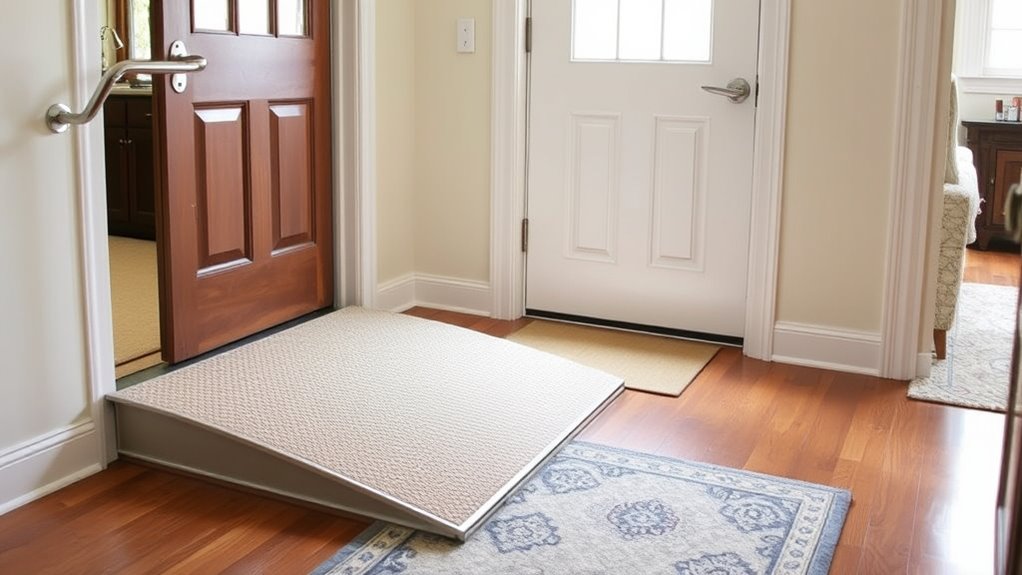
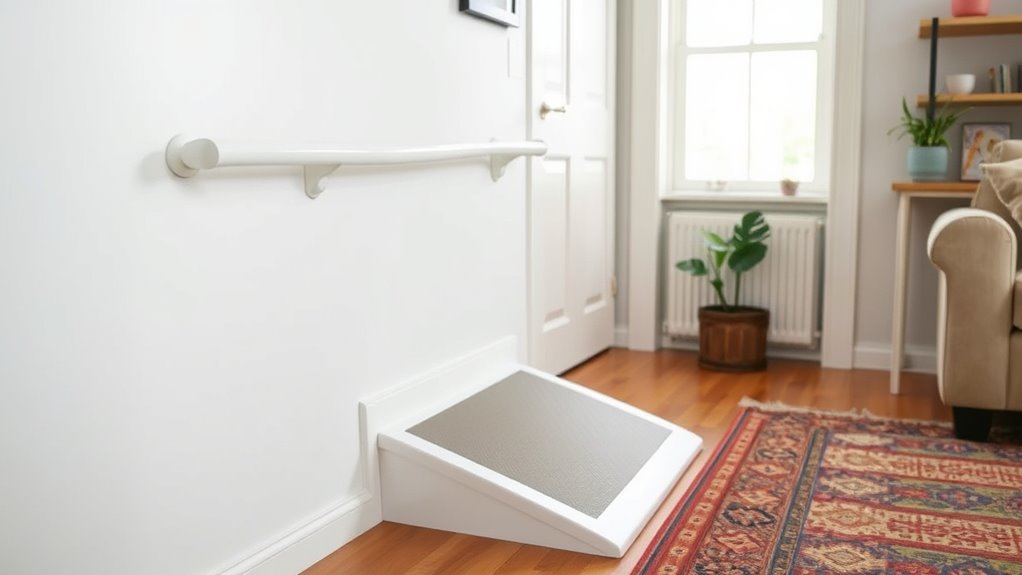
- Build DIY ramps with plywood, non-slip tape, and handrails, keeping costs under $100.
- Replace round doorknobs with lever handles for easier access without significant expense.
- Enhance lighting and clear pathways to prevent falls and improve home accessibility.
- Use accessible design principles and community resources to plan and implement budget-friendly upgrades.

Bed Rails for Elderly Adults Safety - ASTM Approved 2026 Upgrade Adjustable Bed Cane with Non-Slip Ergonomic Handle & Storage Pocket, Bed Railings for Seniors Load 380 LBS, Tool-Free, Model BM03-1
[Rock-Solid at 380 lbs: ASTM-Approved Safety Rail for Seniors] KingPavonini bed rails for elderly adult – safety you...
As an affiliate, we earn on qualifying purchases.
Essential Low-Cost Modifications to Improve Safety
Even with a limited budget, you can make your home considerably safer by implementing simple, low-cost modifications. Installing grab bars in bathrooms is an easy first step, costing as little as $30 to $100 per bar, and markedly reduces fall risks. You can also lower doorknobs and light switches to accessible heights, making everyday tasks easier and safer. Removing rugs, adding non-slip mats, and ensuring floors are clear help prevent trips and falls. Replacing round doorknobs with lever handles improves ease of use for those with limited hand strength. Additionally, installing threshold ramps or using portable ramps under $100 can improve outdoor access. Incorporating smart home devices like voice-activated controls can further enhance safety and independence for residents with mobility challenges. Ensuring proper lighting throughout the home can also significantly reduce accidents and improve visibility. Regularly inspecting and maintaining home safety features ensures that modifications remain effective and safe over time. Increasing home safety awareness through community programs or resources can empower residents to identify and address potential hazards. Implementing accessible design principles can make a substantial difference in daily living for all household members. These modifications are affordable, quick to do, and boost safety without requiring major renovations.

Lunderg Bed Assist Rail for Seniors with Motion-Activated Light & Non-Slip Grab Bar - Easy to Install Bed Rails for Elderly Adults Safety & Post-Surgery - Helps Reduce Falls & Support Independence
Safety + Independence in one: Helps you or your loved one prevent roll-offs and provides an ergonomic non-slip...
As an affiliate, we earn on qualifying purchases.
Building Your Own Ramps and Simple Accessibility Devices
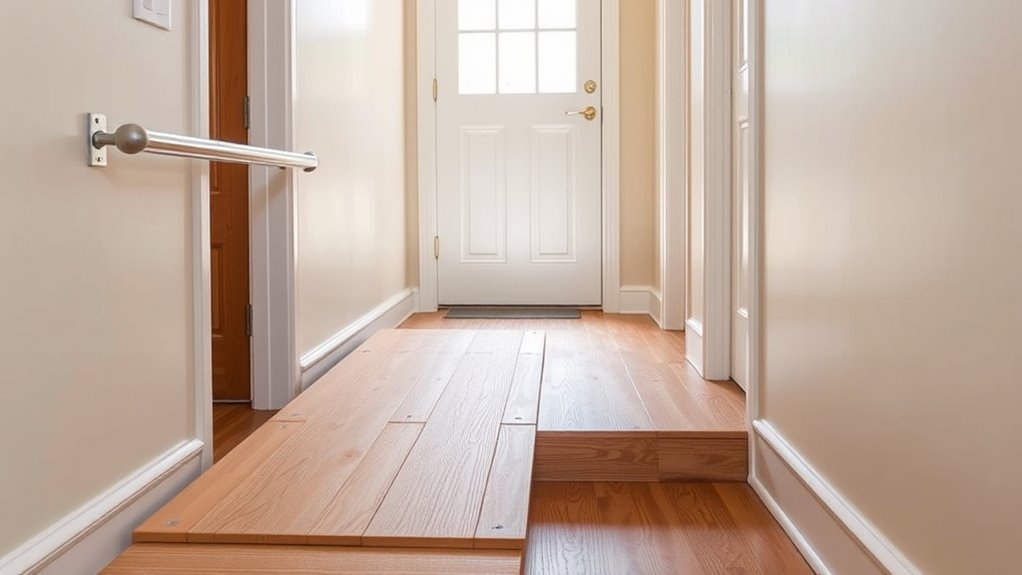
Building your own ramps and simple accessibility devices is an effective way to boost mobility without overspending. Portable ramps can be assembled with sturdy plywood, non-slip tape, and handrails, often costing less than $100. For a permanent ramp, you might use pressure-treated lumber, concrete, or metal, depending on your skill level and budget. Planning is key: guarantee the slope is gentle (about 1:12 ratio). Consider the following options:
| Ramp Type | Materials | Cost Range |
|---|---|---|
| Portable Ramp | Plywood, non-slip tape | <$100 |
| DIY Wooden Ramp | Lumber, screws, paint | $150–$300 |
| Concrete Ramp | Concrete mix, formwork | $500–$1,000 |
| Metal Ramp | Steel or aluminum panels | $800–$2,500 |
Additionally, navigation and mapping features in modern home improvement tools can help you plan and visualize your accessible upgrades more effectively. With proper planning, you can create functional, safe ramps tailored to your needs.

Vive Gait Belt (350lbs) Transfer Belt with Handles - Medical Nursing Safety Patient Assist - Bariatric, Elderly, Handicap, Physical Therapy - PT Gate Strap Quick Release Metal Buckle, Grabbing Teeth
EASY MOVEMENT & TRANSFERS FROM A TRUSTED BRAND: Safely assist patients or loved ones with ease using our...
As an affiliate, we earn on qualifying purchases.
Tips for Making Your Home More Functional Without Breaking the Bank

You can substantially improve your home’s accessibility by making small, budget-friendly modifications that don’t require extensive construction or high costs. Start by adding grab bars in bathrooms—these cost as little as $30 and can be installed easily. Lower doorknobs, light switches, and countertops to wheelchair height; these simple adjustments cost very little but make a big difference. Use non-slip rugs and remove thresholds to reduce fall risks, often at minimal expense. Installing lever handles instead of round doorknobs improves ease of use and is inexpensive. Portable ramps under $100 can provide outdoor access without permanent changes. Additionally, simple home upgrades are supported by research‑backed guidance, ensuring your home remains both accessible and secure. Incorporating evidence-based modifications can significantly enhance safety and independence for all users. These small tweaks enhance safety and functionality, helping you create a more accessible home without breaking the bank.

BigDolphin Bed Rails for Elderly Adults Safety - ASTM Approved Adjustable Bed Cane Supports 350LBS with Non-Slip Grip & Storage Pocket, Stable Bed Assist Rails for Seniors, Tool-Free
[ASTM Tested Holds 350LBS – Safe Mobility for Seniors & Recovery] Our bed rail for elderly adults is...
As an affiliate, we earn on qualifying purchases.
Frequently Asked Questions
Are There Any Safety Regulations for DIY Accessibility Modifications?
Yes, safety regulations for DIY accessibility modifications vary by location, but you should follow local building codes and standards. Always guarantee proper installation, use approved materials, and adhere to guidelines like the Americans with Disabilities Act (ADA). Check with your local building department before starting, and consider consulting a professional if you’re unsure. Properly following regulations helps prevent hazards and ensures your modifications are safe and effective.
Can I Install Grab Bars Without Professional Help?
Yes, you can install grab bars yourself if you feel comfortable with basic DIY tasks. Make sure to select sturdy, waterproof grab bars designed for bathroom use, and locate wall studs for secure mounting. Use a stud finder, drill, and appropriate anchors. Follow manufacturer instructions carefully. If you’re unsure or uncomfortable, hiring a professional guarantees safety and proper installation, especially in high-risk areas like bathrooms.
What Tools Are Needed for Building Ramps at Home?
A stitch in time saves nine, and being prepared helps you build a safe ramp. You’ll need basic tools like a tape measure, level, drill, saw, and screwdriver. For more precise cuts, a handsaw or circular saw works best. You might also need concrete anchors or bolts if you’re securing the ramp to the ground or a deck. Ensuring safety and accuracy makes your project solid and long-lasting.
How Do I Ensure DIY Ramps Meet Weight and Safety Standards?
You guarantee your DIY ramps meet weight and safety standards by checking local building codes and guidelines. Use high-quality, rated materials like pressure-treated wood or metal, and verify their weight capacities. Incorporate proper slope angles (usually 4:12), sturdy handrails, and slip-resistant surfaces. Test your ramp with weight loads gradually increasing to ensure stability, and consider consulting a professional or inspector for approval before use to guarantee safety and compliance.
Are There Funding Options for Purchasing Pre-Made Accessibility Devices?
Funding options for pre-made accessibility devices are more abundant than stars in the night sky. You might qualify for grants like USDA’s up to $10,000 or HUD’s $5,000 program, which help cover costs. Some states and local programs also offer financial aid. Additionally, insurance like Medicare or Medicaid may cover certain devices. Exploring private loans or financing plans can turn your accessibility dreams into reality without breaking the bank.
Conclusion
With a little effort, your home can be both safer and more welcoming, proving that accessibility doesn’t have to come with a hefty price tag. Just as a simple grab bar can make a big difference, a DIY ramp shows that you’re capable of creating real change. You don’t need expensive renovations—sometimes, the most impactful upgrades are the ones you build with your own hands, blending practicality with care to turn your home into a truly accessible space.