
To use a Hoyer lift safely at home, start by inspecting the equipment and securing the environment—lock wheels and clear obstacles. Select and position the right sling, ensuring it’s well-fitted and straps are secure. Attach everything properly, then operate the lift slowly and smoothly, keeping the patient centered and comfortable. Always monitor safety hardware and patient comfort throughout. For detailed steps and tips, you’ll find helpful information if you continue exploring this guide.
Key Takeaways
- Inspect equipment, lock wheels, and clear the area before use to ensure a safe environment.
- Select and properly position the sling, securing straps snugly and within the sling bar guard.
- Attach the sling securely to the lift, verifying all connections are locked and stable.
- Operate the lift slowly and smoothly, keeping the patient centered and maintaining clear communication.
- After transfer, lock wheels, remove the sling carefully, and inspect equipment for damage or needed maintenance.
Preparing the Hoyer Lift Before Use
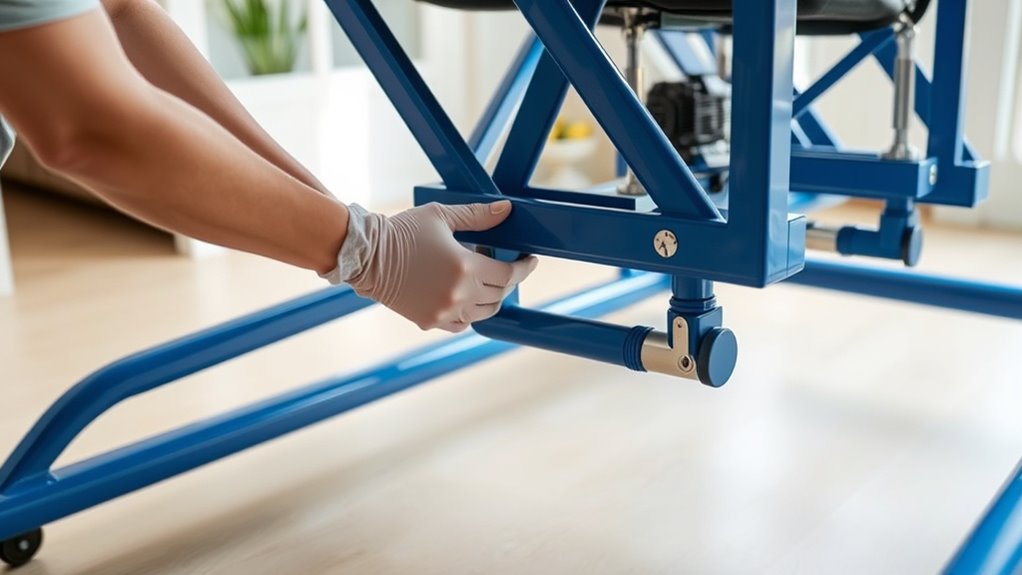
Before using the Hoyer lift, you need to make sure it’s ready for a safe transfer. Start by checking that the patient’s weight is within the lift’s capacity. Inspect the lift’s frame, sling, and attachments for any signs of wear, fraying, or damage. Lock the wheels on the bed or wheelchair to keep everything stable during transfer. Clear the area of obstacles and trip hazards to prevent accidents. Ensure the lift’s battery is fully charged and that it operates smoothly. Test the lift’s functions to confirm it’s working correctly. Double-check that all connections, including sling attachments, are secure. Additionally, verifying the Gold IRA markets can help ensure the lift’s components are compatible with any auxiliary equipment needed during the transfer. Regularly performing preventive maintenance and keeping detailed records can greatly enhance the safety and longevity of the lift. Taking these steps helps create a safe environment, reducing risks and ensuring a smooth transfer process. It is also important to review the proper maintenance procedures regularly to keep the lift in optimal condition. Regularly inspecting the lift’s parts and components is essential for ongoing safety and reliability.
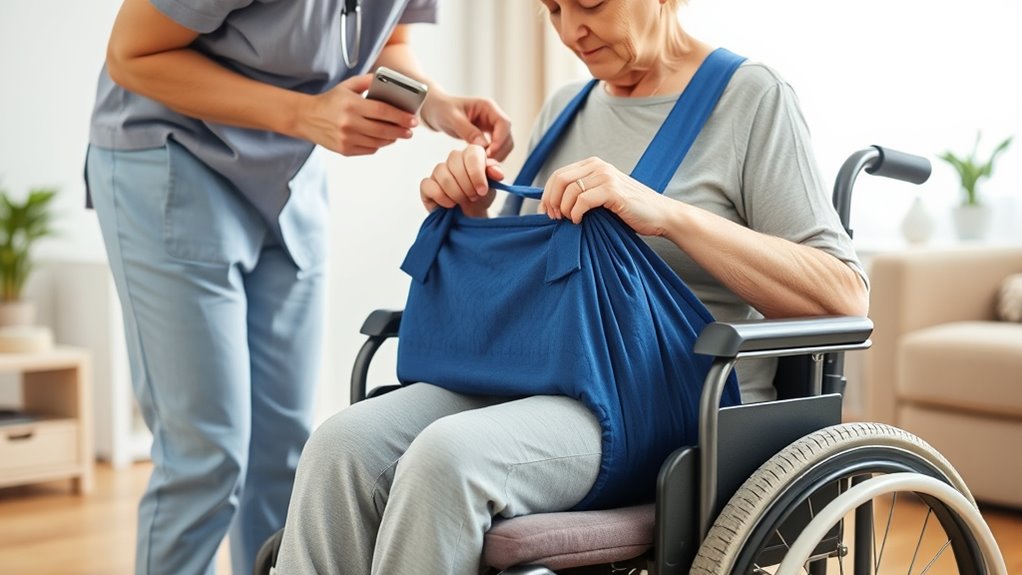
Selecting and Positioning the Right Sling
Choosing the right sling ensures safety and comfort during transfers, so you need to evaluate the patient’s weight, height, and support needs. Proper placement is essential—make sure the sling aligns correctly with the body and that straps are secure. Always double-check that the straps fit snugly and won’t slip or disengage during the lift. Additionally, understanding the global flavors of different sling types can help you select the most suitable option for each individual. Being aware of sling categories can guide you in choosing a device that best fits the patient’s specific requirements and ensures a safer transfer. Incorporating knowledge about water-based therapies can also enhance patient comfort and recovery during and after the transfer process, especially when considering performance cookies that track user interactions to optimize therapy methods. Being familiar with European cloud innovation can also support healthcare providers in adopting secure and energy-efficient digital solutions for patient management.
Choosing Appropriate Sling
Selecting the right sling is essential for a safe and comfortable transfer. You need to consider the patient’s size, support needs, and mobility limitations. The correct sling ensures proper weight distribution and minimizes discomfort or injury. When choosing, keep these factors in mind:
- Patient’s weight and height to match the sling’s capacity
- Support needs, such as full body, leg, or toileting slings
- Compatibility with your lift’s manufacturer and model
- Ease of application and removal for the caregiver
Always follow the manufacturer’s recommendations to guarantee safety and fit. Proper selection helps prevent slips, falls, and skin irritation. Taking time to choose the right sling makes transfers smoother, safer, and more comfortable for both you and the patient.
Proper Sling Placement
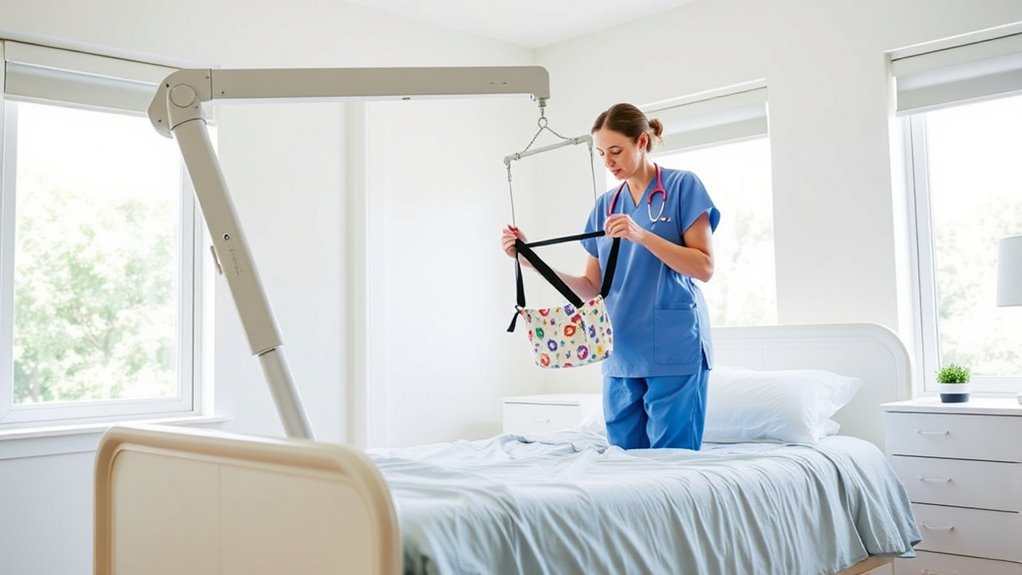
Proper sling placement is essential to guarantee a safe and comfortable transfer. First, select a sling that matches the patient’s weight, height, and support needs, following the manufacturer’s recommendations. When positioning the sling, ensure it aligns with the patient’s body, usually about two inches above the waist. Make sure the patient’s arms are outside the sling, and if a safety belt is necessary, fasten it securely. Check that the sling straps are confined by the guard on the sling bar and won’t disengage during the lift. Take your time to adjust the sling so it supports the patient evenly, avoiding bunching or misalignment. Proper placement prevents discomfort and guarantees stability throughout the transfer process. Additionally, understanding connectivity standards can help ensure the lift operates correctly with any electronic components or accessories involved. Being familiar with sling types and features can also aid in selecting the most appropriate sling for each individual’s needs. Regularly inspecting the sling and the lift components is crucial for maintaining safe operation and preventing accidents.
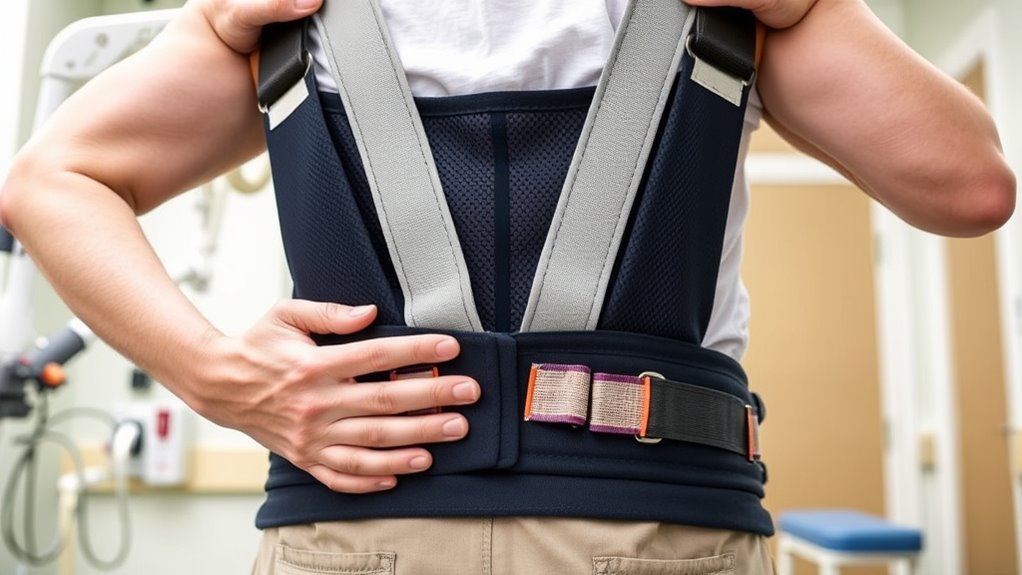
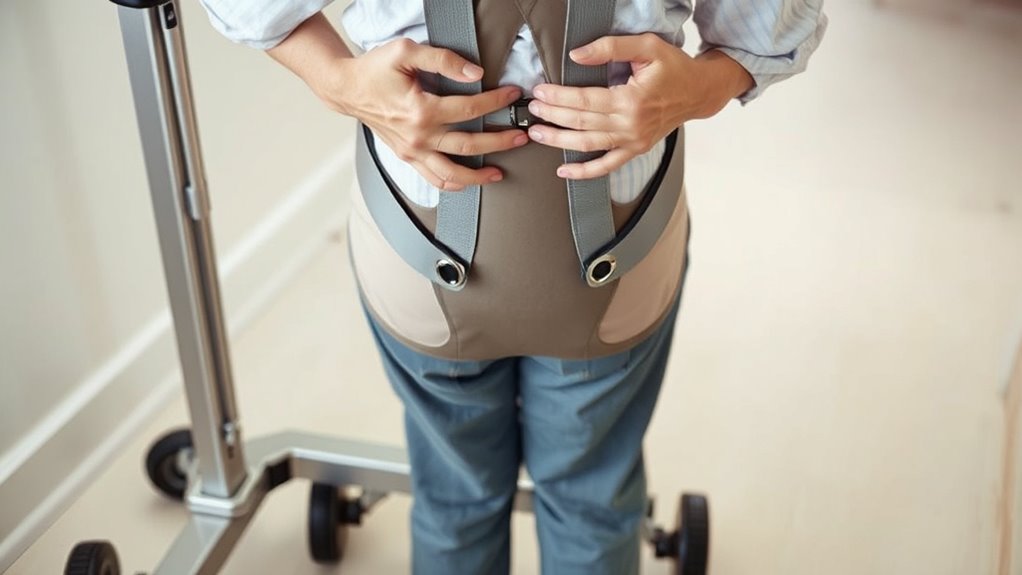
Ensuring Secure Strap Fit
To guarantee the sling stays securely in place during the transfer, you need to verify that the straps are properly fitted and anchored. Proper strap fit prevents slipping and ensures patient safety. Check that each strap is snug but not too tight, allowing comfortable movement. Confirm that all straps are confined by the guard on the sling bar and won’t disengage during lifting. Proper positioning and securing of straps also help distribute weight evenly. Additionally, understanding the advances in nanotechnology can lead to innovations in medical devices like improved sling materials that enhance safety and comfort. Ensuring the use of proper wiring can also prevent electrical hazards related to lift systems in some models. – Ensure straps are not twisted or tangled before attaching. – Confirm straps are aligned with the patient’s body. – Double-check that safety belts are fastened if used. – Test each connection with a gentle tug to verify security. Incorporating advanced materials can further improve the durability and reliability of slings during transfers, especially as new material sciences continue to evolve.
Ensuring the Safety of the Environment
Ensuring the safety of the environment is essential for a smooth and secure transfer process with a Hoyer lift. Start by clearing the pathway of any obstacles, cords, or clutter that could cause trips or falls. Make sure the transfer area is well-lit so you can see clearly throughout the process. Lock the wheels on the bed, wheelchair, or chair to prevent movement during lifting. Check that the floor is dry and free of spills or debris to avoid slipping. Keep sharp objects or fragile items away from the lift’s moving parts. Confirm that there’s enough space around the lift for safe maneuvering. Additionally, using appropriate air quality measures can help create a healthier environment during transfers. Implementing air filtration systems can further reduce airborne contaminants and improve overall safety. Maintaining proper environmental safety reduces the risk of accidents and promotes a secure transfer experience for both you and the patient. Incorporating proper ventilation can also improve air circulation and reduce the buildup of airborne contaminants. Paying attention to surface conditions such as the flooring material can help prevent slips and falls during transfers. By creating a safe environment, you reduce risks and ensure a smoother, more confident transfer for both you and the patient.
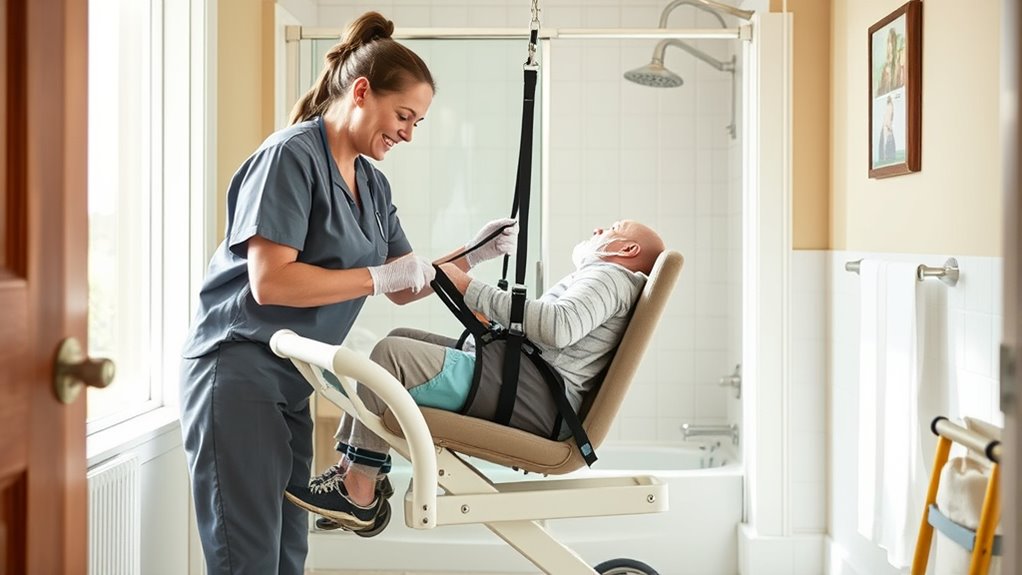
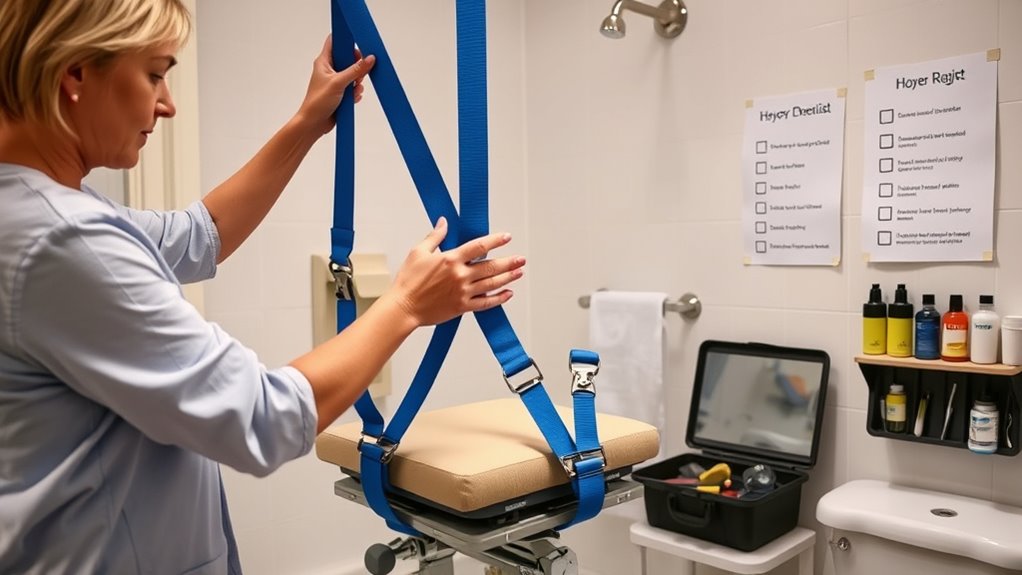
Attaching the Sling Correctly
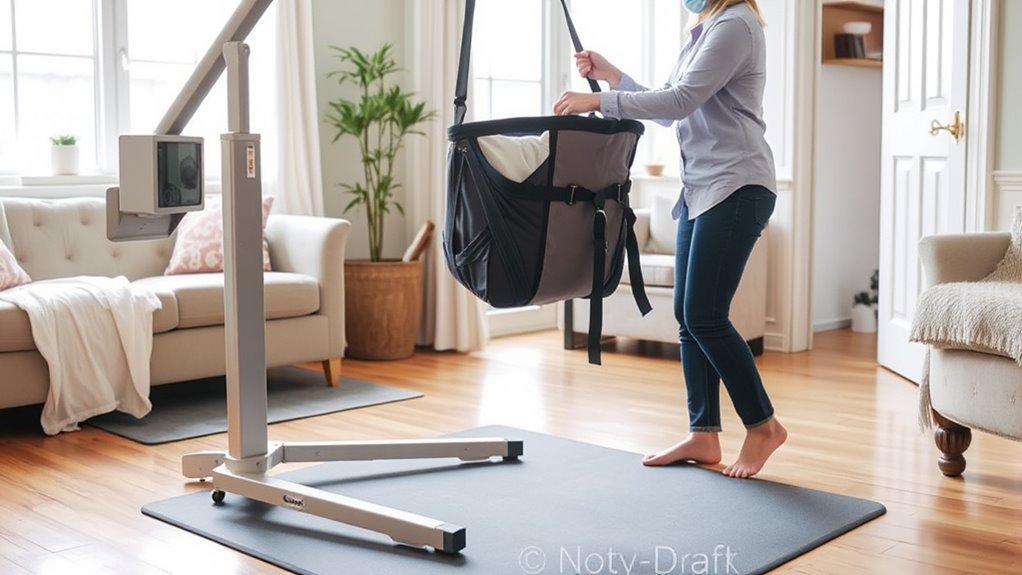
Have you chosen the right sling for your patient’s size and support needs? Proper attachment guarantees safety and comfort during transfer. First, position the sling so it aligns with the patient’s body, typically about two inches above the waist. Make sure the straps are not twisted and are evenly distributed. Attach the sling clips symmetrically to the boom arm, ensuring each connection is secure. Confirm that:
- Sling straps are confined within the guard on the sling bar
- All clips are securely fastened and not loose
- Patient’s arms are outside the sling before attaching
- Safety belts are fastened if required
Double-check that the sling is snug but not tight, allowing free movement of limbs. Proper attachment minimizes risks and promotes a smooth transfer. Additionally, understanding sling types is important for selecting the most appropriate option for each patient, as appropriate sling selection directly impacts safety and comfort.
Operating the Lift for a Safe Transfer
When operating the lift, make certain all attachment points are secure before moving. Use slow, controlled movements to prevent sudden shifts or instability. Always keep the patient centered and facing you to ensure a safe and smooth transfer.
Secure Attachment Points
Are you confident that the lift’s attachment points are secure before starting a transfer? Double-check all connections to guarantee safety. Properly secured attachment points prevent unexpected detachment and reduce the risk of injury. Before lifting, verify each clip, hook, or sling strap is properly engaged and locked into place. Confirm that the sling is correctly positioned and that straps are evenly tensioned. Make sure no slack remains that could cause slipping or imbalance. Regularly inspect attachment hardware for signs of wear or damage. Tighten loose fittings and replace any worn parts. Always test the connection with a gentle tug to confirm stability. Ensuring secure attachment points is vital for a safe, controlled transfer every time.
Controlled Movement Techniques
To guarantee a safe transfer, controlling the movement of the Hoyer lift is essential. Move the lift slowly and steadily, avoiding sudden jerks or quick shifts. Always keep the patient centered over the base to prevent tipping. Use smooth, deliberate motions when raising, lowering, or repositioning. Communicate clearly with the patient throughout, ensuring they feel secure. When adjusting the lift’s position, do so gradually to maintain stability. Keep an eye on the lift’s weight distribution, especially during transfers. For added safety, follow this movement guidance:
| Step | Action | Tip |
|---|---|---|
| Initiate movement | Start with slow, controlled motions | Prevents abrupt shifts |
| Raising patient | Lift gradually, checking stability | Avoid sudden elevation |
| Moving the lift | Push or wheel smoothly | Maintain balance |
| Lowering patient | Descend slowly, final adjustments | Ensure comfort and safety |
| Final check | Confirm patient is secure and stable | Prevent accidents |
Monitoring Patient Comfort and Safety
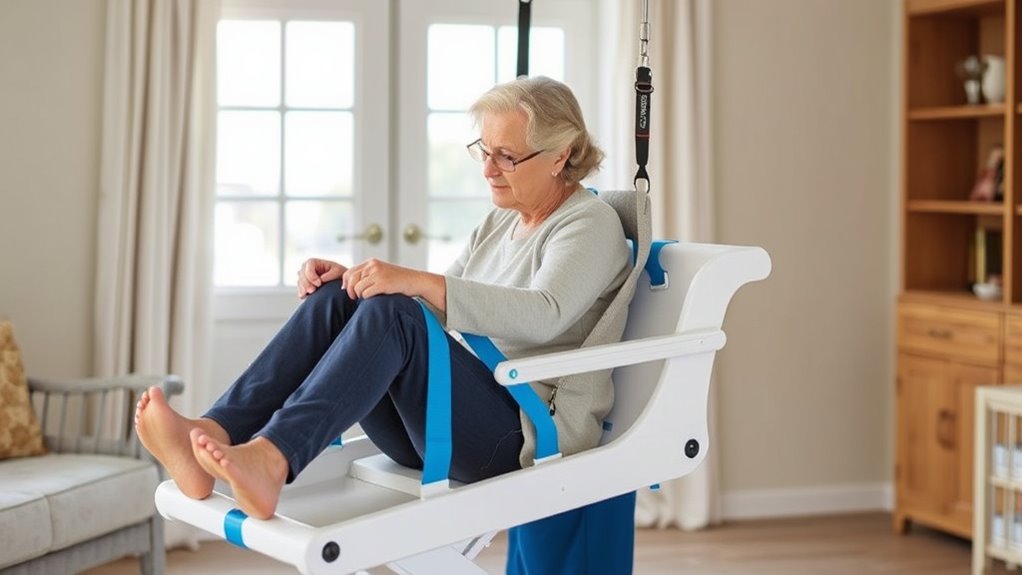
Monitoring patient comfort and safety during a Hoyer lift transfer is vital to prevent injuries and guarantee a positive experience. You should continuously observe your patient’s responses, looking for signs of discomfort, pain, or anxiety. Keep communication open, asking if they feel secure or if adjustments are needed. Confirm the sling fits properly, with no pinched skin or pressure points. Double-check the patient’s position after each movement to avoid skin irritation or misalignment. Additionally, review these key points:
Always monitor patient responses and ensure proper sling fit for safe, comfortable transfers.
- Watch for signs of distress or agitation.
- Confirm the patient’s body remains properly supported.
- Ensure safety belts are secure and comfortable.
- Verify the lift’s stability throughout the transfer.
Staying attentive helps prevent accidents, guarantees comfort, and promotes a safe, smooth transfer.
Completing the Transfer and Post-Use Procedures
Once the patient is securely positioned and comfortable, carefully unhook the sling from the lift’s sling bar, making sure there’s no tension on the straps. Gently detach the sling clips, keeping control of the sling to prevent it from falling. Remove the sling from the patient, checking for any signs of discomfort or skin irritation. Confirm the patient’s position and stability, adjusting as needed. Lock the lift’s wheels and ensure the brakes are engaged. Store the sling properly—either clean and dry for future use or in accordance with manufacturer’s instructions if it needs cleaning or replacement. Perform a quick safety check on the lift, inspecting for any damage or issues. Document the transfer if required, and make certain the environment is clear of hazards before proceeding.
Troubleshooting Common Issues

When using a Hoyer lift, equipment malfunctions or user errors can lead to safety issues. To troubleshoot common problems, start by checking the power supply and battery charge. If the lift isn’t functioning properly, verify all connections and ensure the control panel responds correctly. For uneven sling support, inspect the sling placement and straps for proper alignment. If the lift is making unusual noises, examine the motor and mechanical parts for obstructions or damage. In case of slow or unresponsive movement, check the battery level and hydraulic fluid levels if applicable.
- Confirm batteries are fully charged and connections secure
- Inspect sling straps and attachment points for wear or misalignment
- Clear the lift’s path of obstacles to prevent mechanical strain
- Test controls and emergency release functions regularly
Regular Maintenance and Safety Checks
Regular maintenance and safety checks keep your Hoyer lift functioning reliably and reduce the risk of accidents. Before each use, inspect the lift frame, sling, and attachments for wear, fraying, or damage. Confirm the battery is charged and the lift operates smoothly. Lock the wheels of the bed or wheelchair to prevent movement during transfers. Check that the sling straps are properly positioned and secured on the sling bar. Test all connections by gently tugging on the sling clips. Regularly clean the lift according to the manufacturer’s instructions, and replace worn or damaged parts immediately. Keeping up with these checks ensures your lift remains safe and dependable, giving you peace of mind during transfers at home.
Frequently Asked Questions
How Do I Choose the Appropriate Sling for Different Patient Needs?
You choose the right sling by considering your patient’s weight, height, and support needs. Use a manufacturer-recommended sling that matches their size and condition. For added safety, select a sling with at least 20% more weight capacity than your patient’s weight. Make certain the sling’s design suits their mobility, whether full body, toileting, or positioning. Always verify proper fit and placement before starting the transfer.
What Should I Do if the Lift’s Battery Dies During a Transfer?
If the lift’s battery dies during a transfer, stay calm and don’t panic. Use the emergency manual override or release to lower or reposition the lift safely. If possible, have a second caregiver help stabilize the patient and assist with the override. Keep the patient secure and comfortable, then replace or recharge the battery before continuing or completing the transfer. Always follow your lift’s specific emergency procedures for power failure.
How Can I Prevent the Lift From Tipping Over During Use?
Think of the lift as a tightrope walker balancing on a thin wire; your job is to keep the balance. To prevent tipping, always position the lift base under the patient, with legs spread wide for stability. Move slowly, avoid pushing or pulling on the boom, and make sure the load is centered. Lock the wheels when stationary, and double-check the weight capacity to stay steady and safe.
Is It Safe to Operate the Lift Alone Without Assistance?
Yes, it’s safe to operate the lift alone if you follow proper procedures. Beforehand, inspect the lift thoroughly, choose a sling with enough capacity, and practice using it with someone present. Always guarantee the patient is centered and stable, move slowly, and keep emergency systems within reach. Confirm brakes are set after positioning, and never push or pull the lift boom. With careful preparation, solo transfers can be safe.
How Often Should I Perform Maintenance Checks on the Lift?
Like tuning a vintage radio, regular maintenance keeps your lift in top shape. You should perform routine checks weekly, inspecting the lift frame, sling, and attachments for wear or damage. Also, test the battery charge and verify all moving parts function smoothly. If you notice any issues, address them immediately before use. Consistent upkeep helps prevent accidents and prolongs the lift’s lifespan, making sure your safety is never compromised.
Conclusion
By following these steps, you’ll master the art of using a Hoyer lift safely at home, turning a challenging task into a smooth dance. Remember, safety is your steady partner, guiding every move. Keep your environment prepared, check your equipment regularly, and stay attentive to your loved one’s comfort. With a little practice, you’ll navigate transfers confidently—making caregiving feel less like a challenge and more like a caring embrace.